Step 1: In Organization in the side menu, click the Org. Structure tab at the top of the screen.
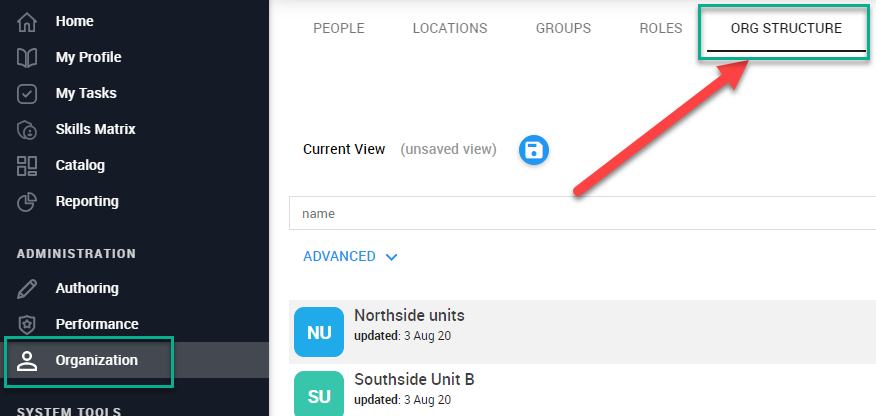
Step 2: Click New Org. Group

Step 3: Enter the name of the org. group you want to create. Click OK.
Note: Org. group names must be unique.

Step 4: You will now be on the Details tab for this org. group.

If this org. group has a parent org. group, click Choose a Parent

Alternatively, if this org. group has an immediate child org. group, click Add immediate child org.

Step 4: Click the People tab. On this screen, click Add People to add people to this group
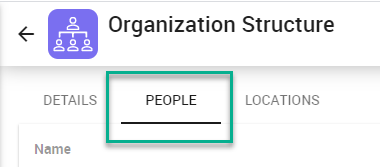

Step 5: To check the org. structure you have created for this group, click the back arrow

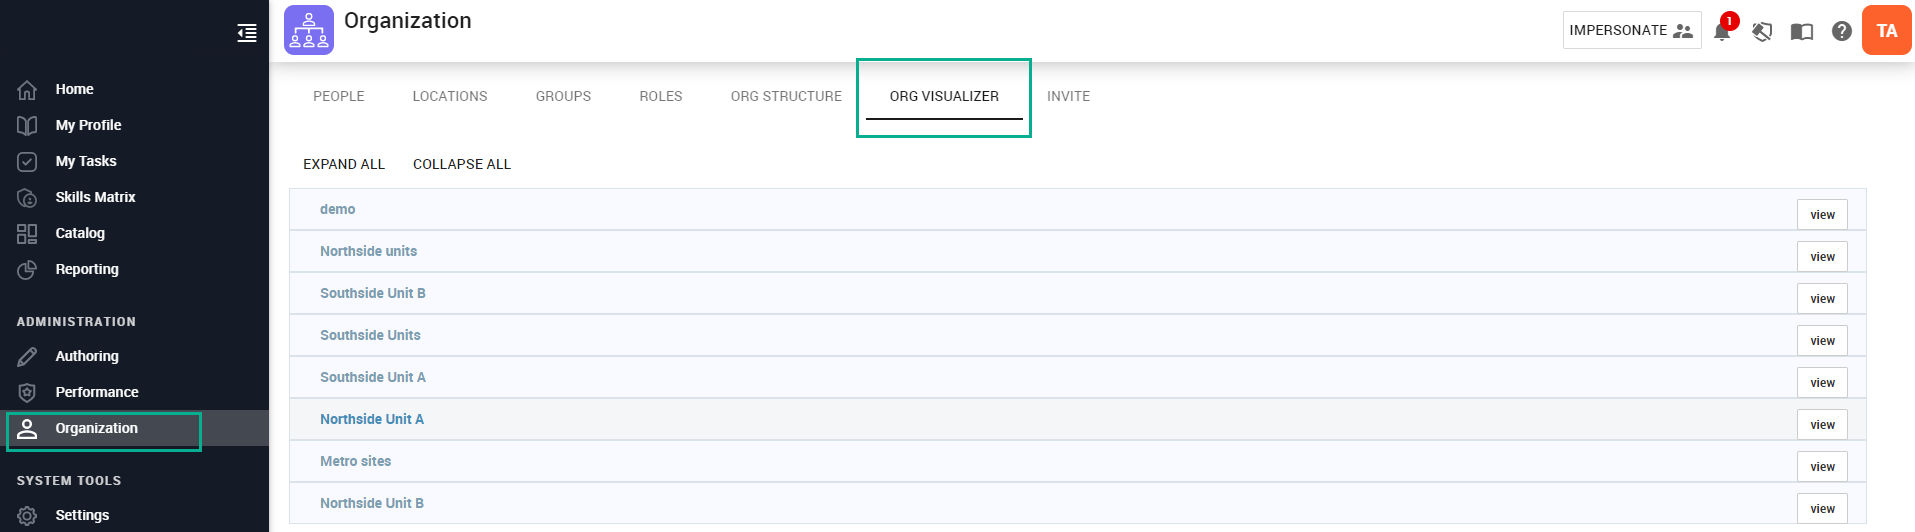
Step 6: Click the Org. Visualizer tab. Your org. groups will appear. Click the org. group tiles to expand or collapse the org. group to visualize the structure of each.
Article ID: xapiappsA_20200825_8
0 Comments